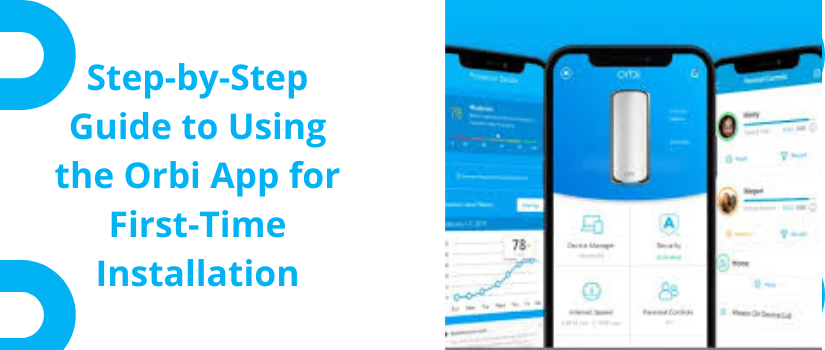
Step-by-Step Guide to Using the Orbi App for First-Time Installation
Setting up an orbi mesh network system is simple and quick using an orbi app. A mesh network setup will help you get a more stable internet connection throughout your home or office. Whether you are installing it for the first time or replacing an old router, you can do it very easily by following a few simple steps. In this guide further we elaborate the step by step information to complete the setup. You may follow the instructions and complete the installation on your own.
Download and Install the App
Start the process by installing the orbi app on your device. If you are using an Android device then open Google Play Store and if you are using iOS device then open app store to search orbi app. Click the install button and let the application download and install on your phone.
Connect Your Orbi Hardware
Next you need to connect the RB router to the postmortem using the ethernet cable. Turn on the device by connecting it with the power source using the power adapter. You need to wait until the device LED get stable to perform the setup.
Launch the App and Create an Account
Now you need to launch the orbi account and click on create a new account option. Provide the required information on the screen and complete the account creation.
Start the Setup Process
Now you need to select and set up a new system and then the screen will instruct you to move forward. The App detects your router or asks you to scan the QR on the device for quick identification.
Connect to Orbi Network
Now go to your phone Wi-Fi settings and connect it with the orbi network by choosing its default network name. After that you need to mention the password as specified on the label and then click connect option.
Configure Network Settings
Now come back to the app and start the configuration. First connect your device with the internet and then you need to create a new network name and password for the orbi network. Make additional settings to the Wi-Fi network as per your requirement.
Add and Sync Satellite
Now turn on the orbi satellites and wait for it to sync with the router. The app will confirm when the router gets connected with the satellite. After this you need to place the satellite in a location where coverage is required. Keep the satellite within the range of the router.
Complete Setup and Test Connection
Finalise the setup, click on the submit button and let the device apply changes. Use your device to check the network connection.
Connect Us
The above given Step-by-Step Guide to Using the Orbi App for First-Time Installation of orbi mesh network is very useful. By following these instructions anyone can configure their network easily. If you face issues when performing the setup then you can connect to our team. Our team members will help you in performing the setup and create a seamless network. Connect us via call or by dropping text in the live chat section.