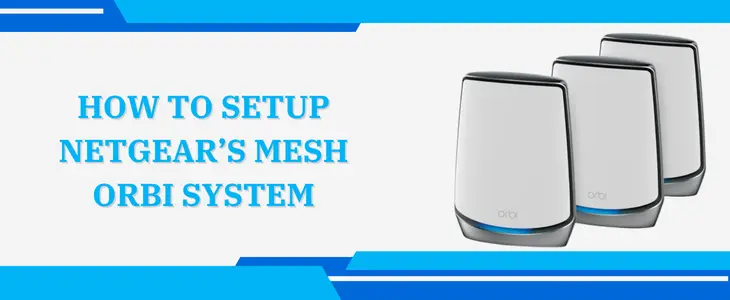
How To Setup Netgear’s Mesh Orbi System
Netgear Orbi is a very popular and reliable wifi system. It operates on mesh technology. Therefore users get to experience uninterrupted wifi connectivity in every single corner of their abode be it home or office. Now to get the benefit of its mesh technology, carrying out accurate Netgear Orbi setup is crucial. So in this blog-post we’ll be sharing the step-by-step details of the setup process. As you complete the setup, you’ll be able to see a clear difference.
Netgear Orbi Setup Steps
For easy understanding and to make it even easier for the beginners, we have divided the setup steps into various parts.
✓ Power On
First the users who have any existing router, make sure you disconnect it. Also disconnect the modem. Thereafter pick the yellow ethernet wire. Use it and connect the modem and the Orbi together. Moving further, using their respective power cords, turn them on. Do not move onto the next Netgear Orbi setup step until you see white glowing light on the Orbi. Proper booting of both the devices can take up 5 minutes. So be patient.
✓ Connect Host Device To The Orbi
Now take your laptop or your computer system. Activate its wifi. Meanwhile its activating, turn your Orbi and from there pick up default details. With the information that you gathered, attach the laptop or your computer to the Orbi.
✓ Use Web Browser
As we are using a web GUI method for Netgear Orbi setup, you need to open an internet browser. Ensure its proper updation. Also clear browser cookies and cached files. You can open Google Chrome, firefox, safari, edge, internet explorer or any other browser that works well.
So head onto the address field. Put up orbilogin.net. Press Enter. Sometimes the web address doesn’t open up the main page so in that scenario you can use an IP address. It is http://192.168.1.1.
✓ Follow On-screen Guidelines
Finally, to complete the Netgear orbi setup you need to follow these steps:
- Start by agreeing to the terms of use. Click on next.
- As you do so the orbi satellite page opens up. Therefore now you can plot the satellites into different rooms of your abode. Make sure none of it is too far from the main Orbi unit. Thereafter, turn on the satellites. Use their own power cords for the same. As you complete this, come back to the interface to hit on Next.
- Let the Orbi detect satellites. It requires somewhere around two to three minutes for the same.
- Moving forward, put up a password. Also provide information relating to the questions. Again tap on Next. Make sure the answers that you give are right. Because when you forget the password these security answers will help you get back to the Orbi unit.
- Now finally, personalize the network name alongside password. When done, click on Next. Do not put up a regular or easy to guess password. Rather make it unique by using letters, numbers alongside different characters.
- Lastly, connect to the new network. As you successfully connect to the Netgear Orbi setup, click on “I am connected to it”. Tap Next.
- Now the Orbi device looks out for the updates. If it finds you should install them by tapping on the “Update All” option.
- As the installation completes, the router reboots and your Orbi network is all set for providing you best networking experience.